學校的 Windows Server 2008R2 因故不堪使用了,
硬著頭皮重新架設 Windows Server 2016來進行校電所有電腦的網域管理,
要做的設定還真是不少,
其中, 令人較頭大的是帳號建置問題, 教師加學生近2000人.
幸好 Windows 的 PowerShell 指令可以解決這個問題.
1. 先準備 PowerShell 程式
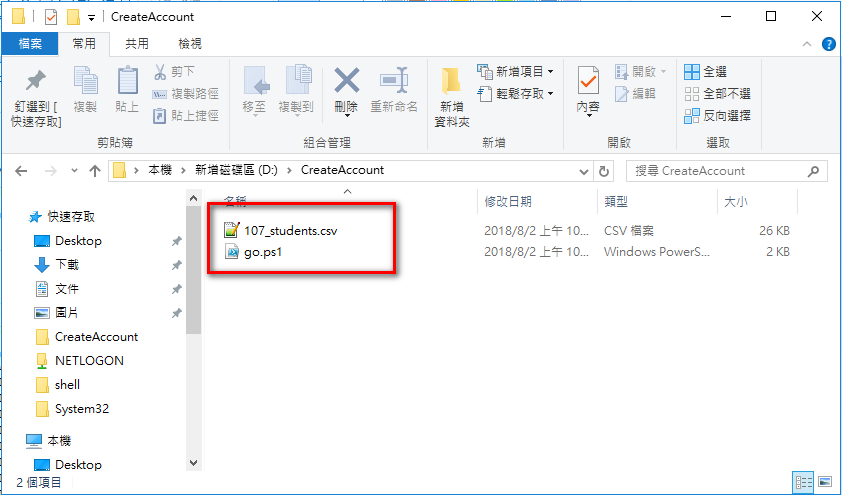
我在 D:\ 建立了一個名為 CreateAccount 的資料夾, 然後把這支程式儲存成 go.ps1 檔
底下是建帳號的程式
$const_DC="DC=fnjh,DC=tc,DC=edu,DC=tw"
$const_userPrincipalName="@fnjh.tc.edu.tw"
#先建立帳號的 CSV 檔應有欄位名稱 name (帳號) password (密碼) container (放在哪個ou tmpTeaches或 tmpStudents 之後再自行移動) description (描述) displayName (顯示姓名) sn(姓) givenName(名) group(群組)
#注意! CSV 檔必須為 UTF-8 字碼
#以參數的方式帶入 CSV 檔
if (!$args) {
Write-Host "需要傳入 CSV 檔案參數!"
}
ELSE
{
#載入 CSV 檔
$accountdata=Import-CSV $args
foreach ($element in $accountdata){
#USER帳號
$name=$element.name
#OU
$ou=$element.container
$container="OU=$ou,$const_DC"
#帳號@網域
$userPrincipalName=$name + $const_userPrincipalName
#密碼處理,要編碼
$password=$element.password
$pass = ConvertTo-SecureString $password -AsPlainText -Force
#中文名
$description=$element.description
$displayName=$element.displayName
#群組
$group=$element.group
#辦公室
$physicalDeliveryOfficeName=$element.physicalDeliveryOfficeName
#新增帳號
#New-ADUser -Name $name -AccountPassword $pass -Path $container -Enabled 1 -ScriptPath "login.vbs" -HomeDrive "Z:" -HomeDirectory "\\nas\home" -SamAccountName $name -UserPrincipalName $userPrincipalName -OtherAttributes @{'description'=$description;'displayName'=$description;'physicalDeliveryOfficeName'=$physicalDeliveryOfficeName }
New-ADUser -Name $name -AccountPassword $pass -Path $container -Enabled 1 -ScriptPath "login.vbs" -SamAccountName $name -UserPrincipalName $userPrincipalName -OtherAttributes @{'description'=$description;'displayName'=$description;'physicalDeliveryOfficeName'=$physicalDeliveryOfficeName }
#把帳號加入群組
Add-ADGroupMember -Identity $group -Members $name
} #end for
} # end if else
2. 利用 Excel 整理帳號, 注意, 第一行是標題, 不能改上面的英文標題名稱, 那是要讓 PowerShell 判別用的
name : 帳號
password : 預設帳號
description 及 displayName 都是要顯示在 AD 裡的中文名
container 建好的帳號要放在哪個 OU , 基本上我都是先集中放在某個 OU , 建好後再去移動
group : 帳號要加到哪個群組
physicalDeliveryOfficeName : 辦公室 , 如果是學生, 我就填入班級
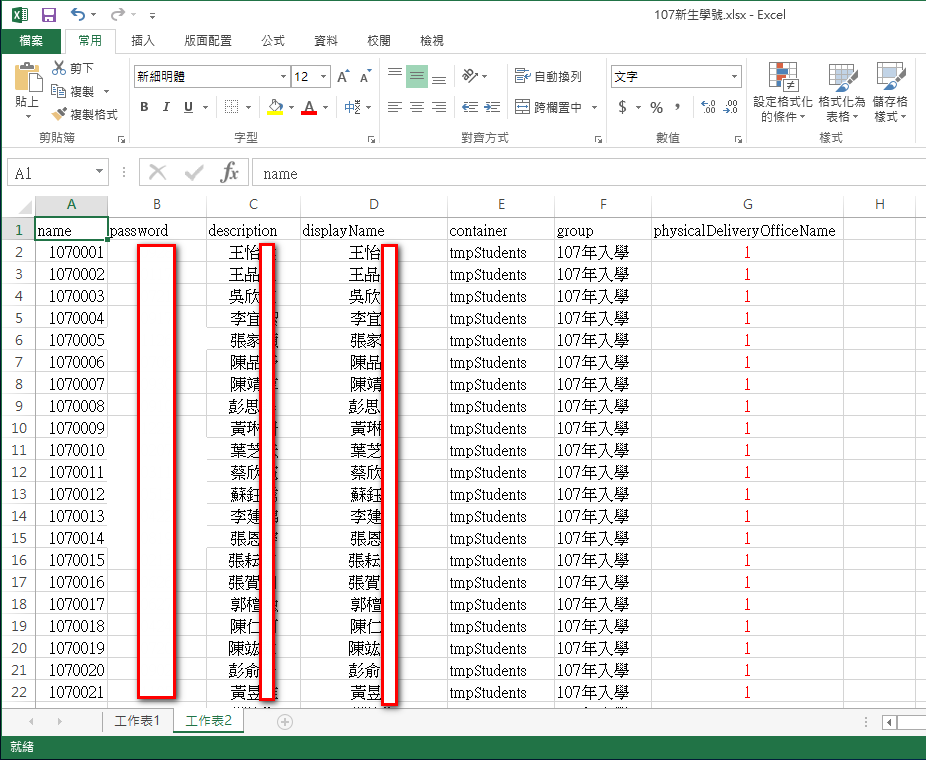
整理好後, 要另存成 CSV 檔
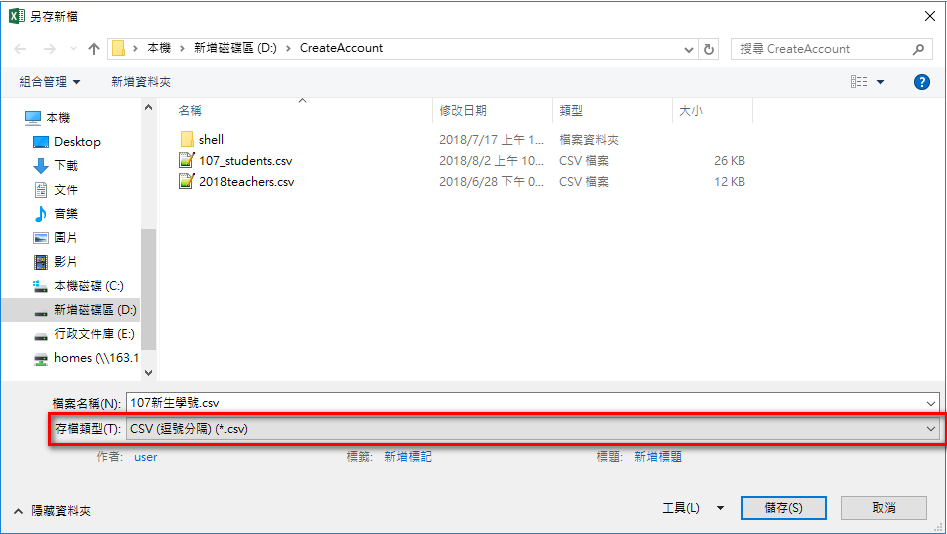
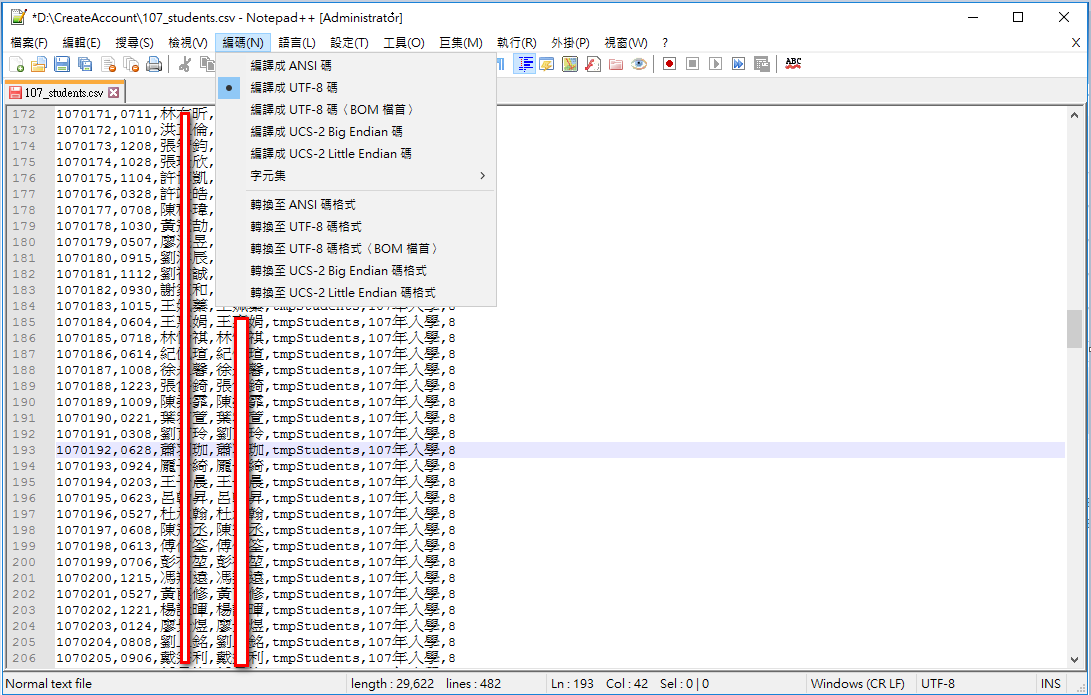
由於 Excel 另存的 CSV 檔, 字碼是 BIG-5
所以, 要利用文字編輯程式, 以下是用 NotePad++ 為例, 把字碼轉換成 UTF-8 , 這樣 PowerShell 在運作時, 中文才會正常.
裡面有些中文字在 Excel 轉存時會變成 ? , 此時也順便修正.
轉存完會看到 D:\CreateAccount 裡有這些檔
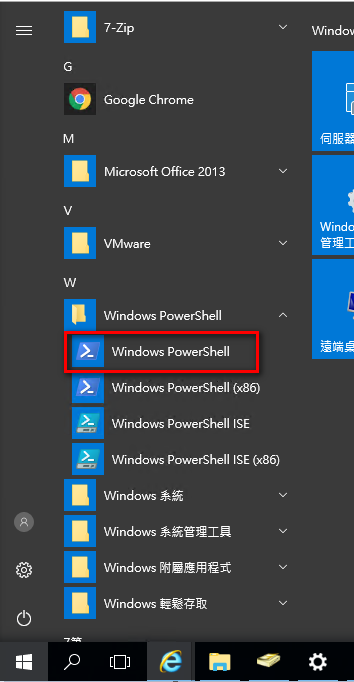
3. 開啟 PowerShell 準備建帳號了
依序下指令進行帳號建立 , 如下圖:
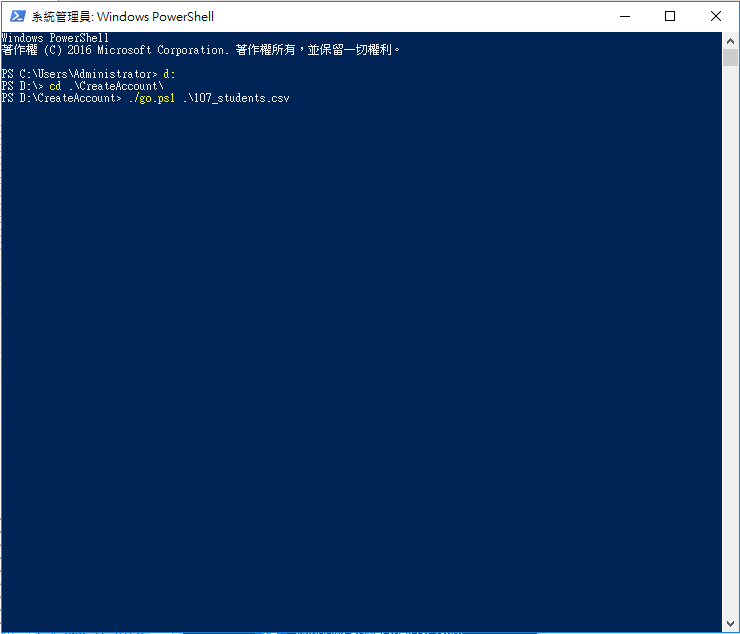
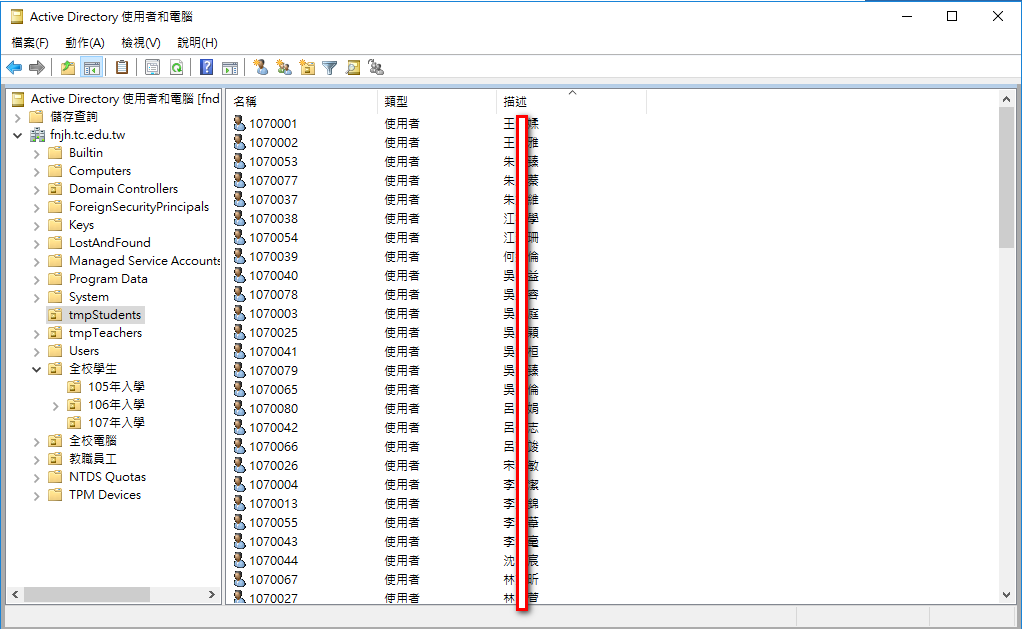
建立完畢, 在 tmpStudents 這個 OU 裡, 就可以看到大量帳號被建立了.
