自動目錄
最近系統流量越來越大,常遇到CPU、 RAM 還夠但http在登入就會卡就久甚至還常出現Proxy error or session lost 等狀況,上網爬了一些文及請教大神後,決定導入負載平衡來穩定系統,該文章會實作Haproxy並使用Layer 7 http 來實作。
事先準備 (OS:Centos7)
-
準備一台 Load balance 主機
-
準備兩台 web 主機(Apache 、 ngnix都行)
以上環境都是在GCP下進行(GCP目前有提供90天免費試用,若有興趣可以參考)
-------+-----------------------------------------------
       |
       +-------------------+--------------------+
       |10.140.0.11          |10.140.0.9           |140.0.0.10
 +-----+-----+     +-------+------+     +-------+------+
 | Frontend  |     |   Backend#1  |     |   Backend#2  |
 |  HAProxy  |     |  Web Server  |     |  Web Server  |
 +-----------+     +--------------+     +--------------+
安裝 HAProxy
首先我們先針對Load Balance 這台主機 安裝HAproxy以及會用到的tools
sudo yum info haproxy -y
sudo yum install gcc pcre-devel tar make wget -y
下載HAProxy,目前我們使用的版本為2.2.4,另外這邊還做了一個make target的動作(目前不清楚為什麼)
tar -zxvf haproxy-2.2.4.tar.gz
mv haproxy-2.2.4.tar.gz /opt/
cd /opt/haproxy-2.2.4.tar.gz
make TARGET=linux-glibc USE_SYSTEMD=1
make install
設定 HAProxy
建置相關資料夾
sudo mkdir -p /var/lib/haproxy
sudo touch /var/lib/haproxy/stats
建置連結讓一般使用者也能使用該指令
可以將HAProxy加入到系統內並重新載入系統
sudo chmod 755 /etc/init.d/haproxy
sudo systemctl daemon-reload
將HAProxy設定為系統重新開幾時會自動啟用
確認一下HAProxy版本
HA-Proxy version 2.2.4-de45672 2020/09/30 - https://haproxy.org/
設定防火牆
sudo firewall-cmd --permanent --zone=public --add-port=8181/tcp
sudo firewall-cmd --reload
設定 /etc/haproxy/haproxy.cfg
相關資訊可參考:
https://cbonte.github.io/haproxy-dconv/2.2/configuration.html#9.1
#---------------------------------------------------------------------
# Global settings
#---------------------------------------------------------------------
global
log 127.0.0.1 local2 #Log configuration
chroot /var/lib/haproxy
pidfile /var/run/haproxy.pid
maxconn 4000
user haproxy #Haproxy running under user and group "haproxy"
group haproxy
daemon
# turn on stats unix socket
stats socket /var/lib/haproxy/stats
#---------------------------------------------------------------------
# common defaults that all the 'listen' and 'backend' sections will
# use if not designated in their block
#---------------------------------------------------------------------
defaults
mode http
log global
option httplog
option dontlognull
option http-server-close
option forwardfor except 127.0.0.0/8
option redispatch
retries 3
timeout http-request 10s
timeout queue 1m
timeout connect 10s
timeout client 1m
timeout server 1m
timeout http-keep-alive 10s
timeout check 10s
maxconn 3000
#---------------------------------------------------------------------
#HAProxy Monitoring Config
#---------------------------------------------------------------------
listen haproxy3-monitoring *:8181 #Haproxy Monitoring run on port 8181
mode http
option forwardfor
option httpclose
stats enable
stats show-legends
stats refresh 5s
stats uri / #URL for HAProxy monitoring
stats realm Haproxy\ Statistics
stats auth howtoforge:howtoforge #User and Password for login to the monitoring dashboard
stats admin if TRUE
default_backend app-main #This is optionally for monitoring backend
#---------------------------------------------------------------------
# FrontEnd Configuration
#---------------------------------------------------------------------
frontend main
bind *:80
option http-server-close
option forwardfor
default_backend app-main
#---------------------------------------------------------------------
# BackEnd roundrobin as balance algorithm
#---------------------------------------------------------------------
backend app-main
balance roundrobin #Balance algorithm
#option httpchk HEAD / HTTP/1.1\r\nHost:\ localhost #Check the server application is up and healty - 200 status code
cookie JSEESIONID insert nocache indirect
server web-server-1 10.140.0.9:80 cookie web-server-1 check #web-server-1
server web-server-2 10.140.0.10:80 cookie web-server-2 check #web-server-2
因為HAProxy沒有提供log紀錄,所以我們要到 /etc/rsyslog.conf 進行設定
$ModLoad imudp
$UDPServerRun 514
$UDPServerAddress 127.0.0.1 //新增這一行
//找到 RULES 加上log紀錄
# log for Haproxy
local2.=info /var/log/haproxy-access.log #For Access Log
local2.notice /var/log/haproxy-info.log #For Service Info - Backend, loadbalancer
重新啟動 rsyslog 以及。HAProxy
systemctl start haproxy
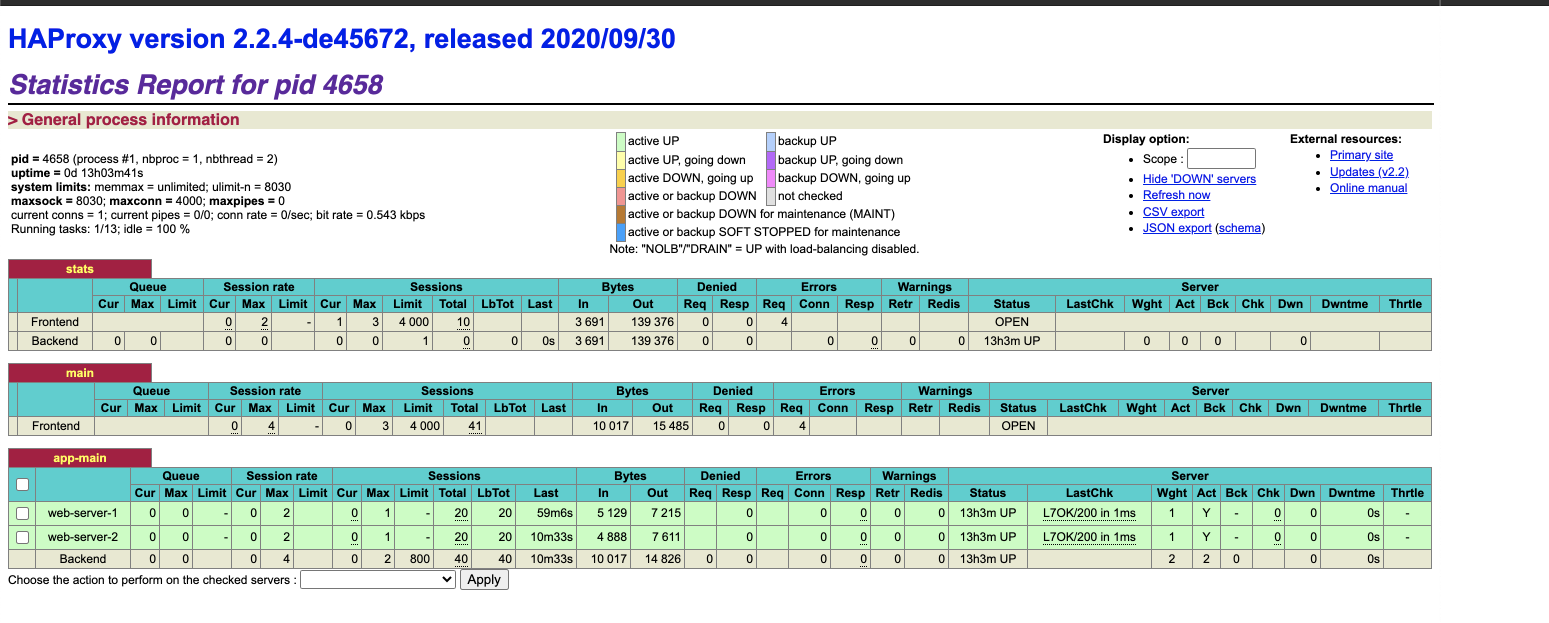
檢視統計畫面
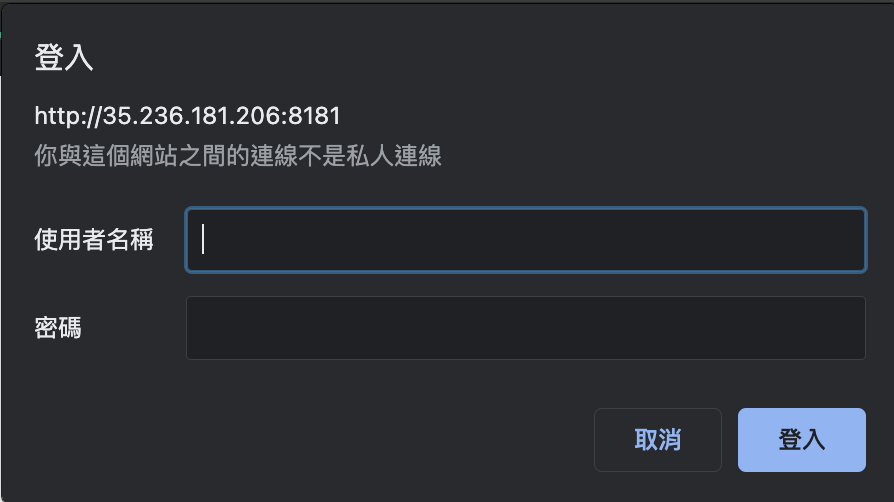
輸入帳號密碼


安裝Apache (兩台 web server) 同樣操作請在第二台web server進行
更新並下載httpd
sudo yum install httpd -y
新增index.html檔案
vim index.html
<!DOCTYPE html>
<html>
<head>
<title>Web-server-1</title> //Web-server-2
<meta charset="utf-8" />
<body>
<h1>Web-server-1</h1>
</body>
</html>
設定防火牆
firewall-cmd --add-service=https --permanent
firewall-cmd --reload
接下來就可以測試拉!
輸入Load_balance_ip


參考網址:
https://upcloud.com/community/tutorials/haproxy-load-balancer-centos/
https://www.howtoforge.com/tutorial/how-to-setup-haproxy-as-load-balancer-for-nginx-on-centos-7/
https://ci-jie.github.io/2020/10/25/HAProxy-Data-Plane-API/
https://linuxscriptshub.com/install-haproxy-centos-7/
https://www.server-world.info/en/note?os=CentOS_7&p=haproxy&f=1

