自動目錄
OS
CentOS release 6.8 (Final)
Server version: Apache/2.2.15 (Unix)
PHP 5.3.3
mysql Ver 14.14 Distrib 5.1.73, for redhat-linux-gnu (x86_64) using readline 5.1
# sestatus
SELinux status: enabled
SELinuxfs mount: /selinux
Current mode: enforcing
Mode from config file: enforcing
Policy version: 24
Policy from config file: targeted
下載
https://tw.wordpress.org/install/
2016.11.20的版本為4.6.1
安裝
1. 解壓到目錄
# tar zxvf wordpress-4.6.1-zh_TW.tar.gz
2. 設定 selinux
# chcon -R -t httpd_sys_content_t wordpress
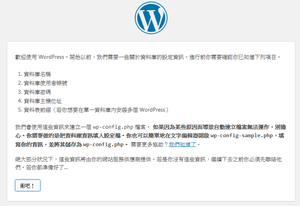
3. 用瀏覽器開啟你的目錄
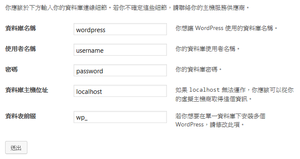
填入資料庫資料,資料庫及使用者權限等要事先設定好
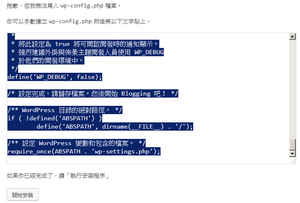
接下來頁面會說他無法寫入資料,那是一定的,請把他反白的內容複製
4. 建立設定檔,把你複製的內容貼入
進到解壓的目錄中
# cd /path/to/wordpress
# touch wp-config.php
# vi wp-config.php
5. 接下來會要你設定網站名稱、你的姓名(登入的帳戶名)、密碼、email(忘記密碼時用)、搜尋引擎那個不要勾
6. 建立上傳目錄
# cd wp-content/
# mkdir uploads
# chmod 777 uploads/
7. 加上SELINUX的type
# chcon -t httpd_sys_rw_content_t uploads/
恭禧你,這樣就可以使用了....


